How To Keg Beer: Step by Step Guide to Kegging Homebrew
This post contains affiliate links which provides us a commission at no extra cost to you.
Read the full disclosure here.
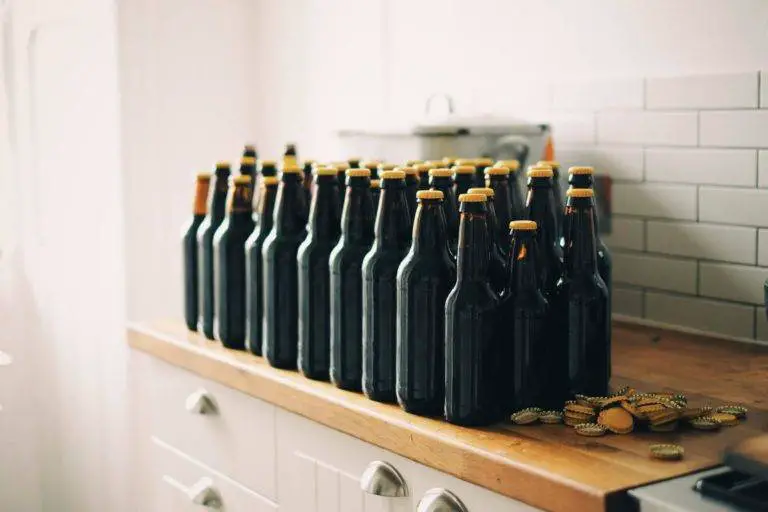
Have you been home brewing for a while now? Are you getting tired of cleaning and disinfecting dozens of bottles at bottling time? We welcome you to the next level of how to keg homebrew. Yes, setting up a kegging system needs an initial investment. However, it will be a worthy investment when you consider the time it saves for you compared to dealing with dozens of bottles, plus sanitizing a keg will be much easier and quicker.
Benefits of Kegging
Do you consider that excluding bottle cleanup is the only benefit of kegging? The reality is that you can expect many other benefits from kegging beer.
With kegging, you don’t have to worry about sediment settlement at the bottom of the bottle. In addition, with bottled beer, the level of carbonation differs. It varies based on the quantity of priming sugar you use. When you keg homebrew beer, you don’t have to add sugar. The reason is that the carbonation is taken care of by carbon dioxide. Above all, you can easily adjust it to your preference. Also, compared to bottled beer, kegged beer carbonates quickly so you don’t have to wait as long to get a great tasting beer.
Equipment Needed For Kegging Beer
First, you need to learn how to effectively choose the right equipment to keg beer. Do you have plans for a detailed setup with multiple taps and kegs? If not, the simple way is to choose an all-in-one starter system.
However, the only con about buying an all-in-one setup is that the carbon dioxide tank will be empty. You will have to get it filled. To get it filled, you might have to visit your local supply store. The reason is that homebrew shops do not fill tanks – they only exchange. Again, they do this because the filling is costlier than exchanging. So, you should decide whether you can go for an all-in-one setup.
The other option available for you is to put a kegging system together yourself. Irrespective of the option you choose, you will need a standard set of components in this process.
The Keg
When it comes to selecting keg, you will come across two options. One is called a Corny Keg and the other one is Pin Lock Keg. The former is a stainless steel soda keg. It comes in a wide range of sizes and commonly used in the commercial beverage industry.
Kegs will have a couple of connections. They are called quick-disconnects. One of them is for feeding the carbon dioxide, which will be in the form of a hose. The other is for dispensing the beer called beverage line. You should remember that these two connectors will be in different sizes. So, you cannot use them interchangeably. One is the ball lock and the other is pin lock.
You should know which of the two kinds of keg quick-disconnects your keg uses. A pin lock keg uses a pin lock quick-disconnect, while a corny keg uses one of them.
Carbon Dioxide (CO2) Tank
When you carbonate multiple kegs you can choose a larger tank. You will find these tanks vary in size from 2.5 to nearly 20 pounds (9.07 kilograms). The former will be the best option if you will make only a single keg at a time. It can handle half a dozen batches of beer.
What if you plan to buy an empty tank for filling up? You should check whether the tank has the stamp of the Department of Transportation. Also, you should remember that you should get the tank recertified once every five years by hydro-static testing. However, if you are exchanging the tank, you don’t have to worry about this testing.
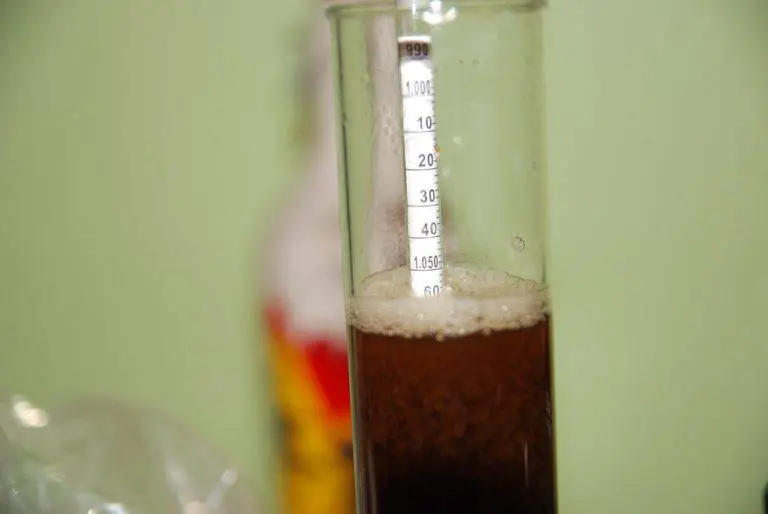
Based on the atmospheric temperature, the tank will read around 900 pounds (408.23 kg) per square inch (psi) when full. If there is a drop in the pressure of less than 600 psi it is an indication that you will have to refill or replace the tank.
Regulator
It is better and safe to have a regulator due to the pressure of the CO2 tank. It lowers the pressure when it is released from the tank. You will find that a regulator will have a couple of dials. One of them will help measure the amount of gas in the tank. The other will measure the amount of pressure that comes out of the tank and gets into the keg.
You will have to simply tighten the screw on the regulator valve to adjust the level of gas released. The tightening should be done by turning it in a counter-clockwise direction. When adjusting, keep the regulator to the desired psi. You don’t have to adjust the screw in the main valve of the tank. You will have to do it only on the valve that reaches the keg. A tightly secured regulator is a must, to prevent high-pressure gas, which can be dangerous.
Connectors
When you take the case of kegs, all of them will have a couple of connections. One will take care of the process of pushing the carbon dioxide. The other is for beer dispensing. For easy connection, quick-disconnects are used. These quick-disconnects come either in plastic or in stainless steel material. The thing to remember here is that ball lock connectors look similar. But, liquid and pink lock connectors will have considerable differences such that you can easily identify. The idea here is that when you buy ball lock connectors, you can consider buying them in different colors. Only then, you can easily differentiate the beer connect from the gas connect.
Beer Tap
Once the beer is ready to serve, you should have a beer faucet or tap to dispense it. You can use a picnic tap as an affordable option. You could also build a jockey box or kegerator then attach a tap handle.
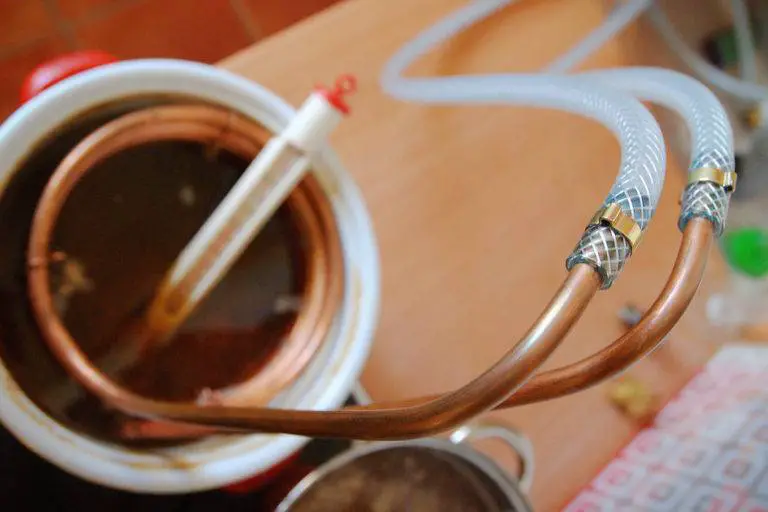
Tubes
You will have to connect the beer tap and carbon dioxide tank to the quick-disconnects. To do this, you will need tubes. You can consider buying a food-grade tubing to ensure safety.
O-Rings
In some areas of the keg like the hatch, you will need rubber circles for the creation of a tight seal. This is where O-rings can help. Just in case, you have decided to buy used kegs, it is better to change the O-rings. You should do this particularly if you notice an aroma or stains.
Refrigerator
You will need one of the best kegerators or you use a refrigerator. It would be wise to choose an appliance with temperature control. You should be able to adjust the temperature between 33 and 50 degrees Fahrenheit (10 °C). If the kegerator does not have this feature you will have to buy a temperature controller separately.
Now, you know the things required for home brewing in keg let’s get to the step-by-step process kegging beer.
7 Steps To Keg Beer: Kegging Your Homebrew
1. Disassemble and Disinfect Your Keg
Before you fill the keg with beer for carbonation and drinking, you should disinfect the keg. To clean, you should first disassemble the keg. Once disassembled, immerse the small parts in water and disinfecting liquid following this process.
Let out the pressure in the keg. You can do this by elevating the cover release controller. Once this is done, get rid of the lid. To remove the gas and liquid posts from the keg, use a driver socket and socket wrench. Then, get rid of the gas dip tube. You should soak these tiny parts in the sanitizing or cleaning solution.
Now, get rid of the long liquid-side dip tube. Once removed, place it inside the keg shell. Now, impart the shell with the cleaning solution.
You will have to soak these things for at least two minutes. You should do this for sanitizing. When it comes to cleaning, you should soak for at least thirty minutes to one hour. You should decide the time based on how dirty your keg is. After soaking and removing, make sure to air dry all parts of the keg.
Once dried, you will have to reassemble the keg by following these steps in reverse.
2. Leak Test The Gas Side
The next step after reassembling the keg is to attach the CO2 regulator to the gas cylinder. Carefully attach the cylinder and tighten. Once you tighten the gas line, you should detach the regulator body. When doing this you should make sure that the valves remain closed.
Wipe using a small quantity of soapy water on all parts. It includes the gas line, the regulator and the cylinder. After you do this, disconnect and open the valves.
Now, you should check whether there are gas leaks. If there are leaks, you will see bubbles and need to tighten again to prevent a gas leak.
3. Move Beer To The Disinfected Keg
Now, draw-off the beer from the fermenter into the keg. Once the beer gets into the keg, seal it with the lid.
Next, connect the carbon dioxide supply to the keg. You can do this by attaching the quick-disconnect to the gas-in valve of the keg. Once the pressure releases to the keg, you will hear a hissing sound.
Carbonate the beer forcefully by compelling the keg with carbon dioxide gas. Then regulate the carbonating pressure to carbonate the beer. You can do this by using the set screw that you can find in the regulator. You will find that the gauge straight against the gas line will indicate that the pressure is being supplied to the keg. The recommended psi for force carbonation is 20 psi. However, this number will differ based on the model of your home brewing keg system.
4. Sealing the Keg
After moving the beer to the disinfected keg, you will have to properly seal to keg. Many people face issues with proper sealing. They find that even after sealing, there is a leak in the keg. To make sure that you can achieve proper sealing, you can use a little food grade lube on the O-Ring. When you do this before sealing, the lid will properly seal. You can also pressurize with 20-30 psi. Once this is done, back off the pressure to properly seal the lid. Finding the right sweet spot is important to achieve proper sealing. You can do this by twisting the lid back and forth under pressure.
5. Testing The Carbonation
After a few days shut off the carbon dioxide at the regulator. Vent the carbon dioxide from the top portion of the keg by unlocking the cover relief valve. Employ the set screen to bring down the pounds per square inch from forceful carbonation to dispensing levels. At these levels, you can make sure that the psi is between 10 and 12.
Open the shut-off valve again on the regulator. To adjust the pressure back to 10 to 12 psi, you might have to use the set screw.
Connect the liquid line to the liquid out-post that you will find on the keg. Before you do this, ensure that the tap is shut.
6. Taste The Beer
In the process above, what if you find that the beer is a bit flat? If so, you will have to get rid of the liquid line. Then, you should set back the psi back to force carbonating levels. Let it stay and check back again in a couple of days. Otherwise, your beer is ready.
7. Let Carbonate with Refrigeration
How about carbonating with refrigeration? Establishing a constant pressure and temperature and waiting for some days is the most reliable methods to carbonate beer. However, let us consider that you are trying to carbonate a bigger jar or beer that you just kegged to 2.6 volumes. Further, let us consider that you wish to serve the refrigerated beer to your guests at 40 degree F. The balanced pressure for 40 degree F and 2.6 volumes of beer is 13.5 psi. To achieve this, you will have to simply place your keg into the refrigerator.
Once you place the keg into the refrigerator, just connect your carbon dioxide source to the pipe that legs the gas into the keg. Now, point the regulator at 13.5 psi and wait. To equilibrate, a 19 liter keg of beer will take around 5-7 days. Even though this is not the quickest method, you can reduce the risk of over-carbonation with this method.
Conclusion
So, are you ready to set up your home brewing keg system? Now, you know how to keg beer at home.