How to Bottle Your Homebrew Beer at Home
This post contains affiliate links which provides us a commission at no extra cost to you.
Read the full disclosure here.
You’ve long been awaiting your homebrew after brewing and fermentation and now you want to bottle your beer and let it carbonate. As with most steps in homebrewing, these must be followed accurately to make sure you have the best tasting beer possible.
For some, bottling beer can take a lot of time and and leave a mess behind.
But it doesn’t have to be that way.
First, let’s figure out when your brew is ready to be bottled then dive into the tools and steps to get you started bottling your homebrew.
When is the Perfect Time to Bottle Your Beer?
Everyone folllows the rule of 7 – 14 days for a primary fermentation. It is still possible to bottle your beer too early and can be one of the reasons you don’t get the end result you desired, or deal with a mess along the way.
So don’t make it a guessing game and instead rely on measurements from science to determine the best time to bottle your beer.
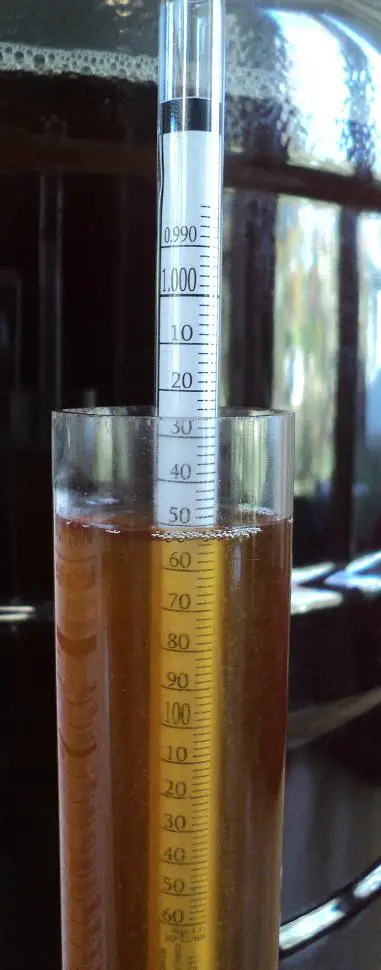
It call comes down to gravity.
This is the ratio between the density of your wort calculated against water.
You get these measurements at the end of your primary fermentation by using a hydrometer or refractometer which we’ll get into in more detail shortly.
There are some signs you can look for when you think your homebrew may be ready to test.
The best sign you can look for is when you don’t see any more bubbles in your airlock, or they are significantly reduced.
The reason for this is that the yeast is converting sugar into alcohol, and when they have converted as much of the sugar as they can they stop putting out CO2 which means bubbles then stop.
Basically, the yeast eats the sugar and turns it into alcohol.
Tools to Bottle Your Beer
These are needed to safely, easily, and cleanly transfer your homebrews into bottles.
- 12 oz bottles
- Bottle caps
- Bottle capper
- Brewing sanitizer
- Conditioning or priming sugar tablets
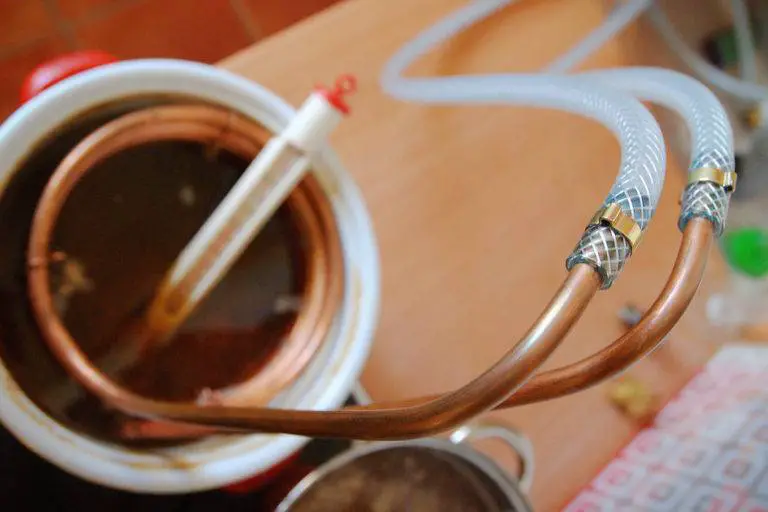
- Siphon
- Food-grade vinyl tubing
- Bottling wand or filler
While you can bottle beer by yourself, it will be much easier and quicker if you have someone help you along with this process.
Steps to Bottle Beer
Make sure you have all of the necessary supplies ready to go, hopefully some tasty (already brewed) beer, and someone to help you, and you’re set.
Clean Bottles, Homebrew Equipment and Work Area
Thoroughly clean all of your equipment and with any dirt or grime that you can see. Sanitization won’t get dirt off, although it will sanitize after you have made sure everything is clean.
Get Your Bottling Area Ready
Prepare the area where your siphon will go all the way down to the bottles (thanks to gravity). The main key is if you want your bottles at an easy length, the siphoning must be higher. Some choose to put their bottles on the ground along with towels or a tarp for simple cleaning.
Sanitize Everything
Sanitize your homebrew equipment with no-rinse brewing sanitizer and a bucket of water. Typically, you could use a 5 gallon bucket of water along with 1 ounce of no-rinse brewing sanitizer, or a 10 gallon bucket with 2 ounces.
Make sure all of your equipment is fully sanitized and immersed in the water and sanitizer solution for at least a minute, if not longer if you can wait.
Sanitize more bottles than you expect just in case you need them. Wipe down any area you’ll be working with your brew with the solution as well.
After the minute is up from submerging the equipment in the solution, let them air dry. This is the reason to get no-rinse brewing sanitizer. Don’t worry as its normal if there is any foam.
Prep the Priming Sugar
Boil priming sugar with water and then allow it to come back to room temp. If you are using a glass carboy then its especially important to let it cool or it can break the glass.
The siphon hose should be at the bottom to it mixes the priming sugar to allow for an even carbonation.
Mix Priming Sugar with Beer
Bring the siphon hose to a spigot along with the bottle filler on the other end. Put the bottle filler inside a bottle towards the bottom and release the spigot.
Beer bottling has commenced.
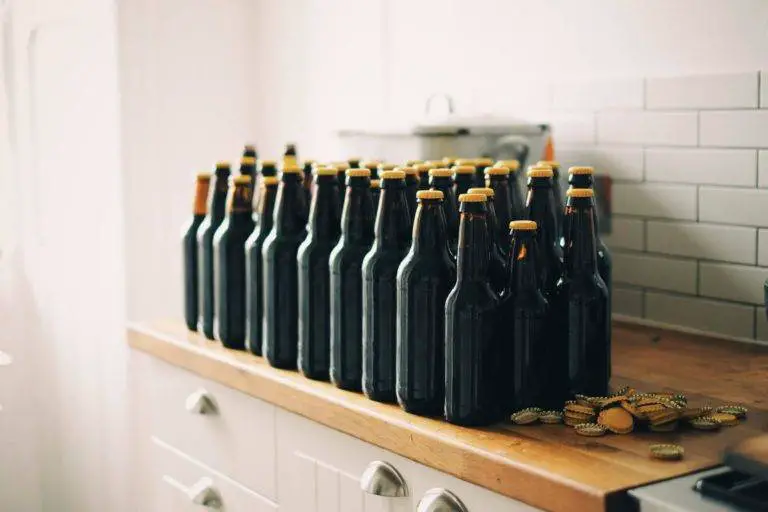
Start Bottling
This is the moment.
This is where all the hard work you’ve put into your homebrew gets the finishing touch to bottle your beer to savor later.
Fill the bottles up with about an inch of room from the top.
Slap a Label on It
If you went through all of this time and energy into your homebrew then you should show it off by using a beer bottle labeling machine.
For a small batch of bottles you can save money and get a manual bottle labeling machine. But if you have a lot of bottles and more brews coming in the near future, or want to start a craft brewery, then you’ll want to invest in a semi-automatic beer labeling machine. Either way, the best beer bottle labeling machines will save you time.
Store Your Bottled Beer
The easy part.
Store all that brewed goodness for 2-3 weeks in a dark room at normal temperature.
Flavors continue to develop for about a month or two after bottling, and then tend to stay at that flavor over the next several months. So if you can wait a month or so you should. If not, it’s ready to chill and drink after 2-3 weeks.
After which, you’re good to refrigerate and drink up!
How Long Does Your Bottled Homebrew Beer Last?
Homebrew beer lasts typically as long as store bought bottle beers – up to 12 months using refrigeration before it can start to turn stale.
Without refrigeration, it should last 6-9 months.
Take that into consideration when you’re figuring out how many bottles you’ll have – and need to drink – in under a year.
But that shouldn’t be a hard problem to solve.